
Appearance
Admissions Module
📘 Table of Contents
➕ Adding Leads
Campus Cloud offers three ways to bring leads into the system:
- Manually
- Through a Lead Form
- Via API Integration
✍️ Manually Adding a Lead
To add a lead manually: Navigate to Admissions → New → Lead.
You can enter lead information using the form provided.
- Green fields are required – you cannot move forward without filling these.
- Once all required fields are complete, click Save.
✅ The lead will now be added to the system.
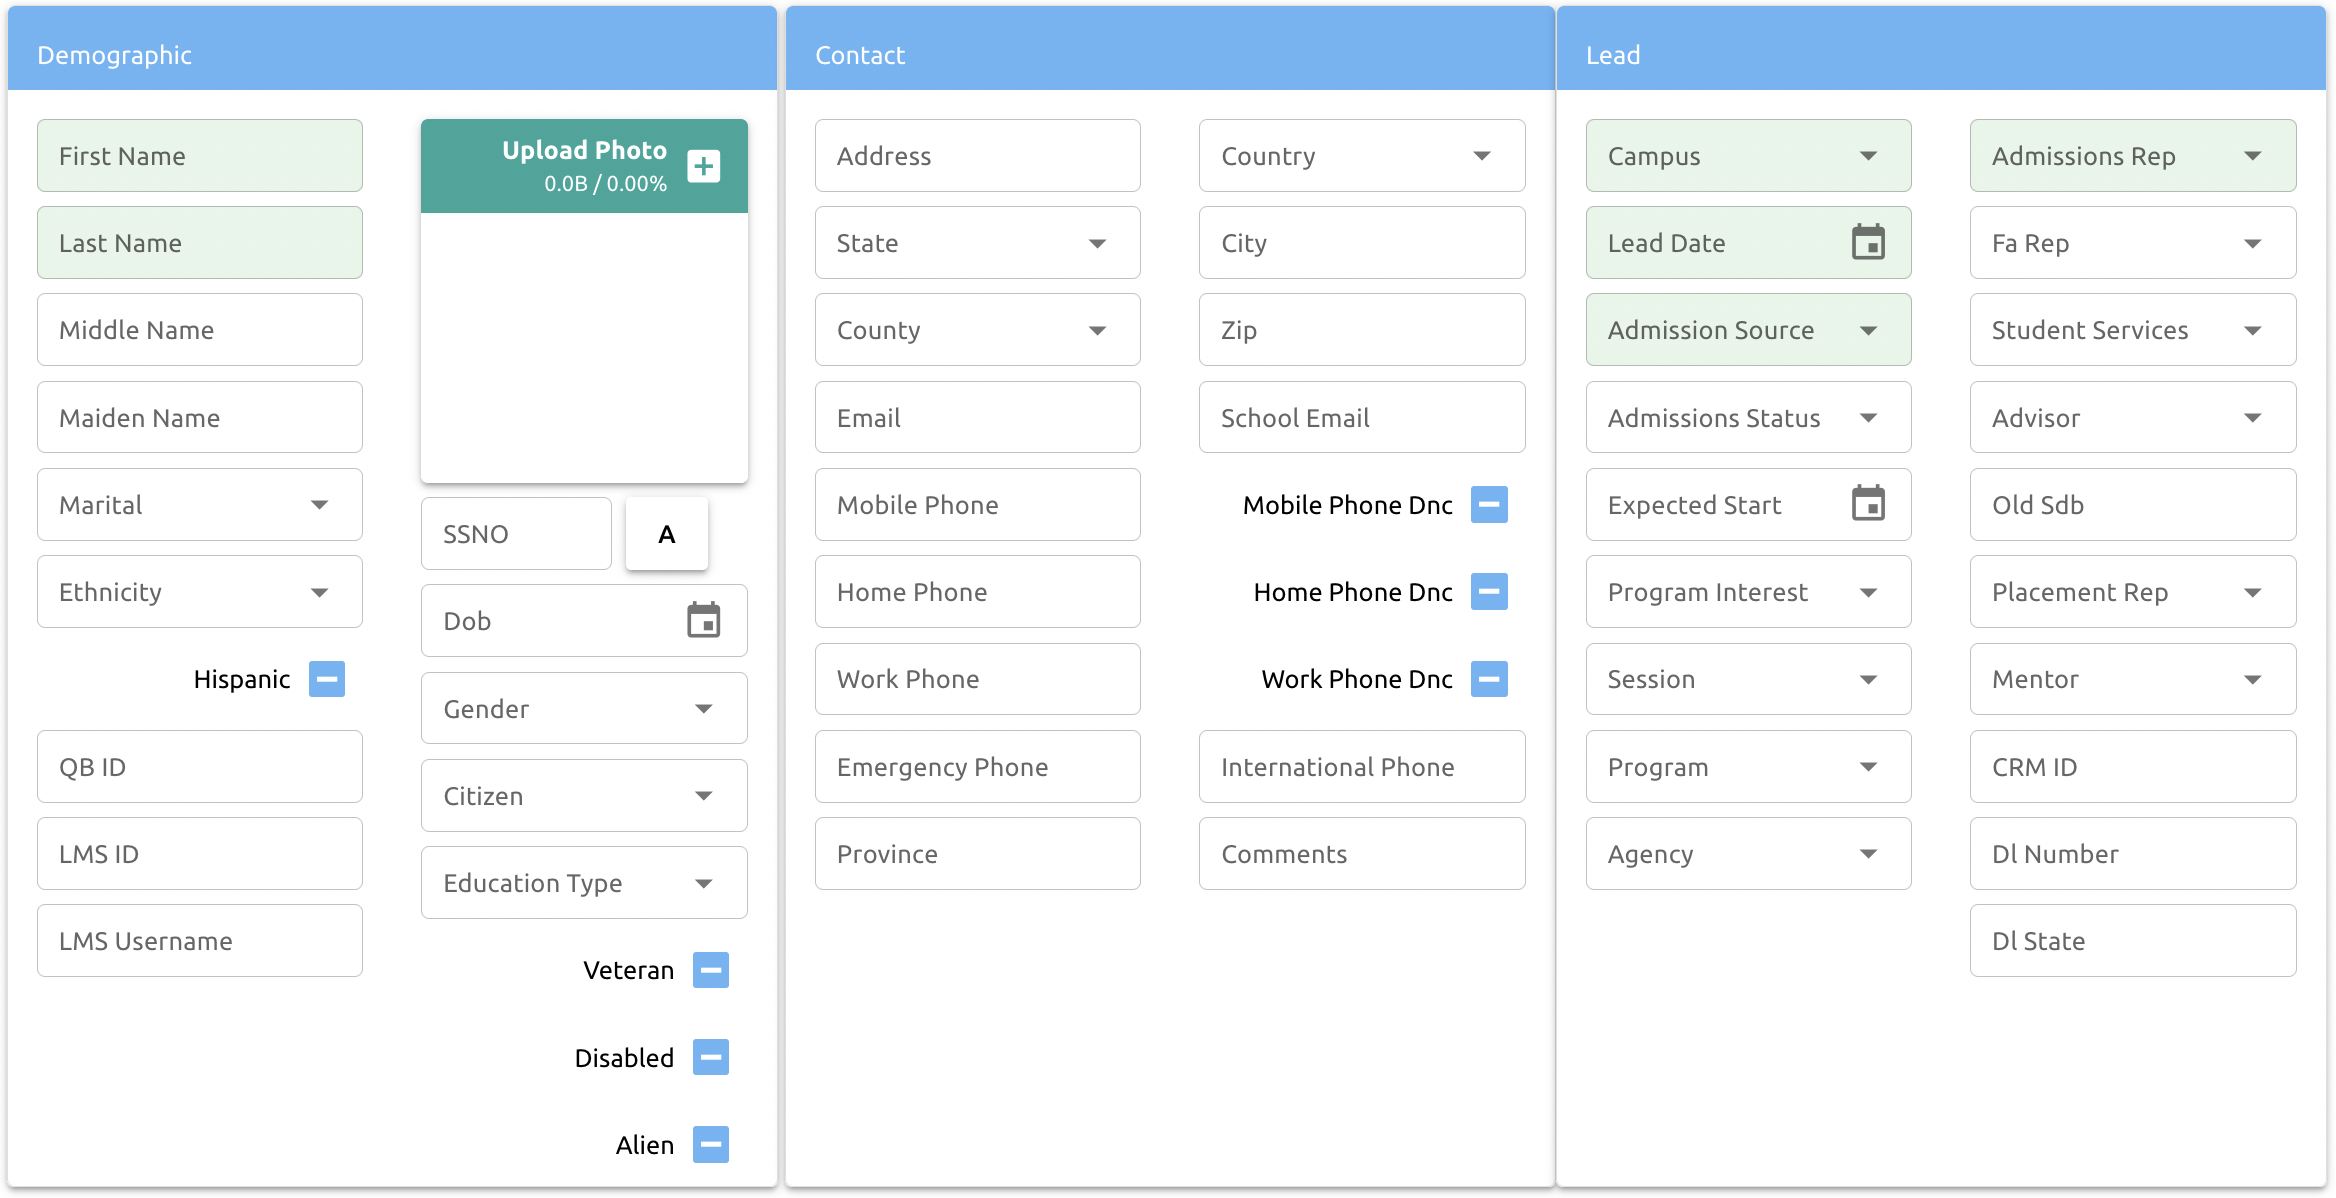
Auto-Generating Dummy SSNs on Lead Form
For individuals without a Social Security Number (SSN), Campus Cloud provides a way to generate dummy SSNs:
- Click the “A” icon next to the SSN field to auto-generate a dummy SSN.
- Dummy SSNs range from
000-00-0001to000-99-9999. - The system tracks all issued dummy SSNs to prevent duplicates — even for deleted students.
If you're using the API to add leads, pass GenerateDummySSN: 1 in the AddLead endpoint, and Campus Cloud will handle the assignment automatically.
Lead Application
Once your Lead Form is set up, generate a public-facing URL (e.g. yourcampus.cloud/welcome) to place on your website.
You may include a call-to-action like "Click here if you're interested" to encourage students to click on the link, which will take them directly to the Lead Application form you created.
The Lead Form uses cascading style sheets (CSS), so it will blend seamlessly with your website’s design for a consistent experience.
👉 Click here to learn how to set up the Lead Application.
API
The API Integration is the most automated method for adding leads.
If you already have a lead form, we can connect it to Campus Cloud through our API. Once connected, when a student submits the form, leads are pushed instantly into the system.
This method ensures real-time data flow and eliminates the need for manual entry.
👉 Click here to learn how Admission Reps can be assigned automatically through the API.
📊 Dashboard
The Admissions Dashboard can be accessed by navigating to:
Admissions → Main → Dashboard
This dashboard gives you a centralized view of lead and applicant activity, helping you monitor performance and take quick action where needed.
Adding an Action to the Calendar
- Click into your Calendar on the day you want to add the event/action.
- Select the Action type and enter a Note — both fields are required.
Example:
- Action: Phone Call
- Note: "Just got a call from student."
Once submitted:
- The system will create the new action.
- The action will automatically be marked Complete and Successful for reporting.
- A new Activity Note will be added to the student's record.
SMS & Call from Dashboard
SMS functionality is available directly in the Admissions Dashboard.
When you click on any student's phone number (🔴 red arrows shown below), the system will automatically populate that number into the SMS & CALL fields (🟢 green arrows shown below).
Admissions Reps can then:
- Type a message into the Message field and click SEND SMS to send the message.
- Or click the CALL button to initiate a call to the student directly from the system.
💡 Tip: You can automate these procedures by setting up Communication Plans, which send scheduled, automatic messages triggered by student actions.
Viewing Subordinates' Dashboards
To view a subordinate's dashboard, you must first have the appropriate permissions.
Once permissions are set, navigate to your own dashboard. You will see a dropdown menu allowing you to select which subordinate's dashboard you'd like to view.
💡 Tip: This feature is useful for managers and team leads who need quick insight into their team's activities and performance.
Enrolling Students Through the Dashboard
- From your Dashboard, select the Lead/Student you wish to enroll and click New → Application.
- The Application Form will open. Fill in all green required fields and click Submit.
- The system will return you to your Dashboard.
- The student will now appear with a Pending Application status.
- The Activity Log will record the new application.
- Click on the student’s name (bottom-left corner) to open their profile.
- Go to the Admissions tab to view their application.
Next Steps:
By clicking on the application, you can:
- Approve – Create an enrollment for the student.
- Reject Application – Decline the application.
- Withdraw Application – Mark the application as withdrawn.
Online Application
The student can fill out their Online Application when they log into their Student Portal.
⚠️ Warning: The Online Application must be setup first; click here to learn how.
When the student submits their components, the can be found in the Dashboard.
Click on the component and then either Reject or Approve.
✔️ green check mark means the component has been completed.
🚫 red cross sign means the component has been rejected.
👉 Click here to learn how to manage the visibility of a program on the Online Application.
⬇️ Import Lead Applications
To review and process Lead Applications submitted via the Lead Application Form, navigate to: Admissions → Main → Import Lead Application
📝 Note: Only Leads submitted via the Lead Form will appear here.
Upon entering this section, you will have two options for each Lead:
- Import — Bring the Lead into the system as an Applicant.
- Delete — Remove the Lead if unnecessary.
If you choose to Import, the system will automatically check for duplicates and display possible matches when you hover over them (showing student name details).
After resolving any duplicate alerts:
- Assign the appropriate Admissions Representative.
- Select the correct Campus.
- Click Import.
✅ The Lead will now appear on the assigned representative’s Dashboard for further action.
📥 Unassigned Leads
The Admissions department can manage leads without a designated Admissions Representative in the Unassigned Leads section found under Admissions → Main.
Leads coming from API integrations that lack an assigned representative will appear here. From this list, leads can either be assigned to a representative or deleted.
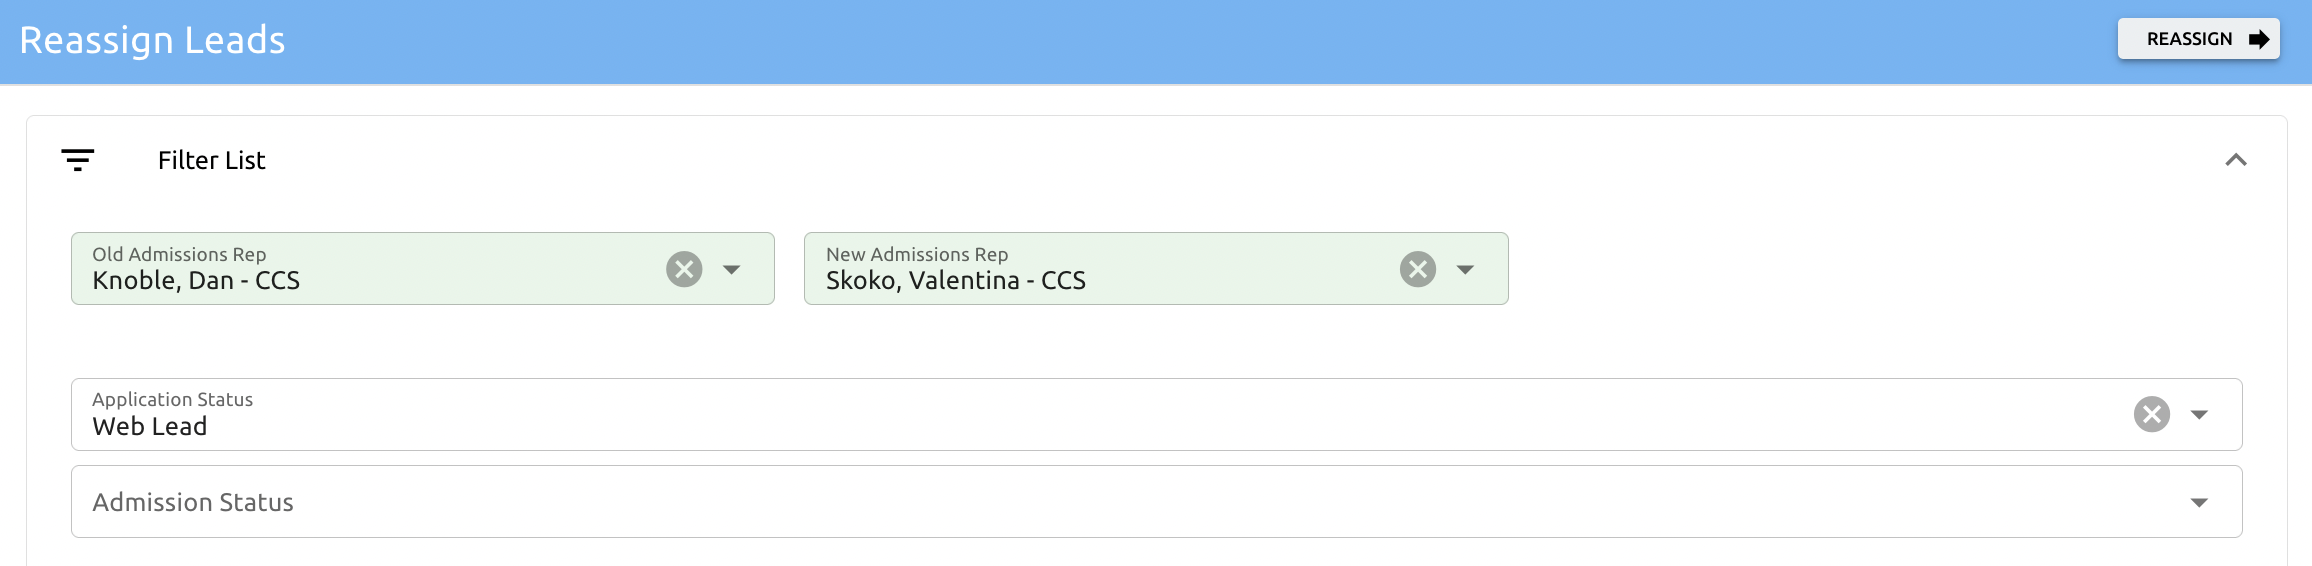
🔀 Reassign Leads
To reassign Admissions Representatives for students, go to Admissions → Main → Reassign Leads.
- Enter the name of the current representative (old rep).
- Enter the name of the new representative.
- This action will reassign all leads from the old rep to the new rep.
You can further refine which leads to reassign by applying filters such as:
- Status List
- Admissions Status
Example: To reassign only Dan Knoble’s leads with a Web Lead Application Status to Valentina Skoko, use the filters to narrow the list before executing the reassignment.
🌐 Community Outreach
The Community Outreach module helps admissions staff manage and track outreach events designed to engage potential students and the wider community.
There are two main setups: Institutions and Types of Outreach. Each Institution setup requires a Type of Outreach to be configured first. You can set these up by navigating to: Admissions → Setup → Community Outreach Type and Admissions → Setup → Community Outreach Institution.
👉 Click here to learn how to maintain a setup.
After setup, go to Admissions → Main → Community Outreach Calendar to view all events scheduled for the current month. Past due events appear in red, future events in green.
You can filter the calendar by campus and type to view specific event categories.
To add an event, complete the form below the calendar and click Add Record; the event will be added to the calendar.
To edit or delete an event, click on it to open a popup where you can update details or remove the event. Click Save to confirm changes and refresh the calendar.
🚫 Do Not Call List
Individuals can add their phone numbers to the National Do Not Call Registry at https://www.donotcall.gov/. Once registered, telemarketers—including educational institutions—are prohibited from calling those numbers.
The Do Not Call registry provides schools with a list of registered phone numbers, which can be downloaded and imported into Campus Cloud.
After importing, any phone number matching one in the Campus Cloud instance will be flagged as DNC. Additionally, a system setting allows for excluding numbers from being flagged as DNC for a certain number of days after the lead date.
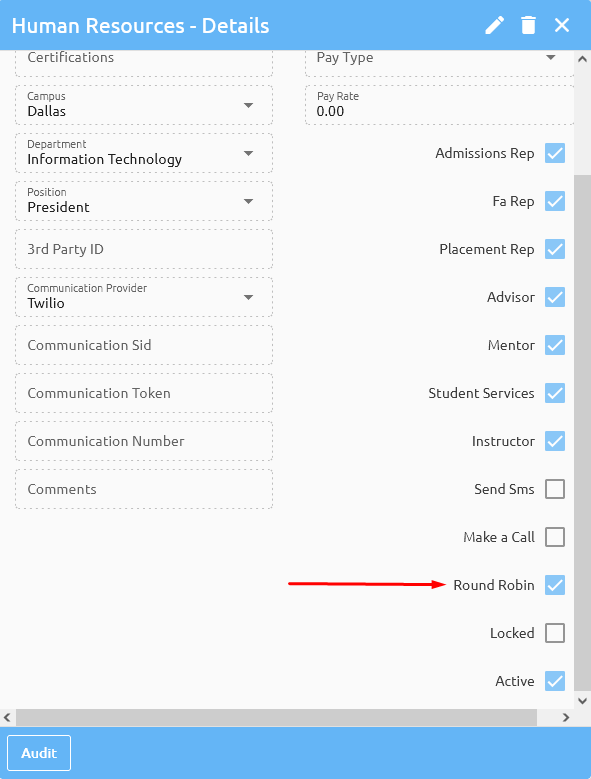
🔄 Round Robin
The system assigns Admissions Reps via Round Robin for leads coming into Campus Cloud from the API "Add Lead." Reps are assigned based on the campus of the lead.
Leads that already have Admissions Reps assigned will be excluded from the Round Robin assignment.
To include your reps in the Round Robin rotation, navigate to Maintenance → System → Users, select the user, and click the Human Resources button at the bottom:

Check the Round Robin box for each Admissions Rep you want to include in the rotation.
💡 Tip: For clients who prefer not to use Round Robin and want leads to come in without assigned Admissions Reps, simply do not assign any reps to Round Robin.
✉️ Emails
This section covers important email templates every educational institution should have configured. These templates include admission-related messages such as welcome emails, password resets, student portal notifications, and explanations for checkboxes.
👉 Click here to learn more about email setup.
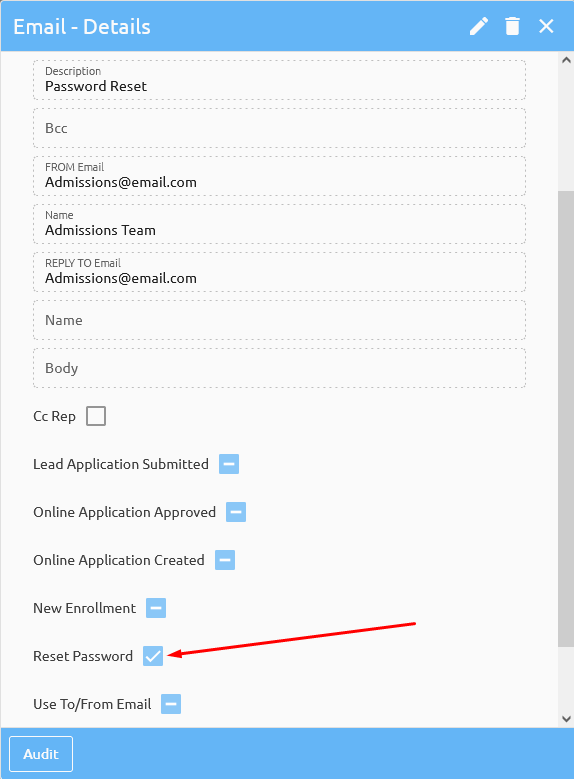
Checkboxes
The checkboxes on the right side of the Admissions Emails Setup:
| ✅ Checkbox | 💡 Explanation |
|---|---|
| CC Rep | CC’s the Student’s Admissions Rep to that email, in addition to the intended recipient. |
| Lead Application Submitted | Automatically triggered and sent once the lead application is submitted. |
| Online Application Created | Automatically triggered and sent when an application is created. |
| Online Application Approved | Sent when the student’s application is approved. |
| New Enrollment | Sent each time a new enrollment is created. |
| Reset Password | Sent when the "Reset Password" button is clicked. |
| Use To / From Email | When checked, uses the FROM and REPLY TO email addresses specified in the setup. If unchecked, uses the student’s assigned rep’s email as the FROM and REPLY TO addresses (e.g., Admissions Rep for Admissions emails, Student Services Rep for Academic emails). |
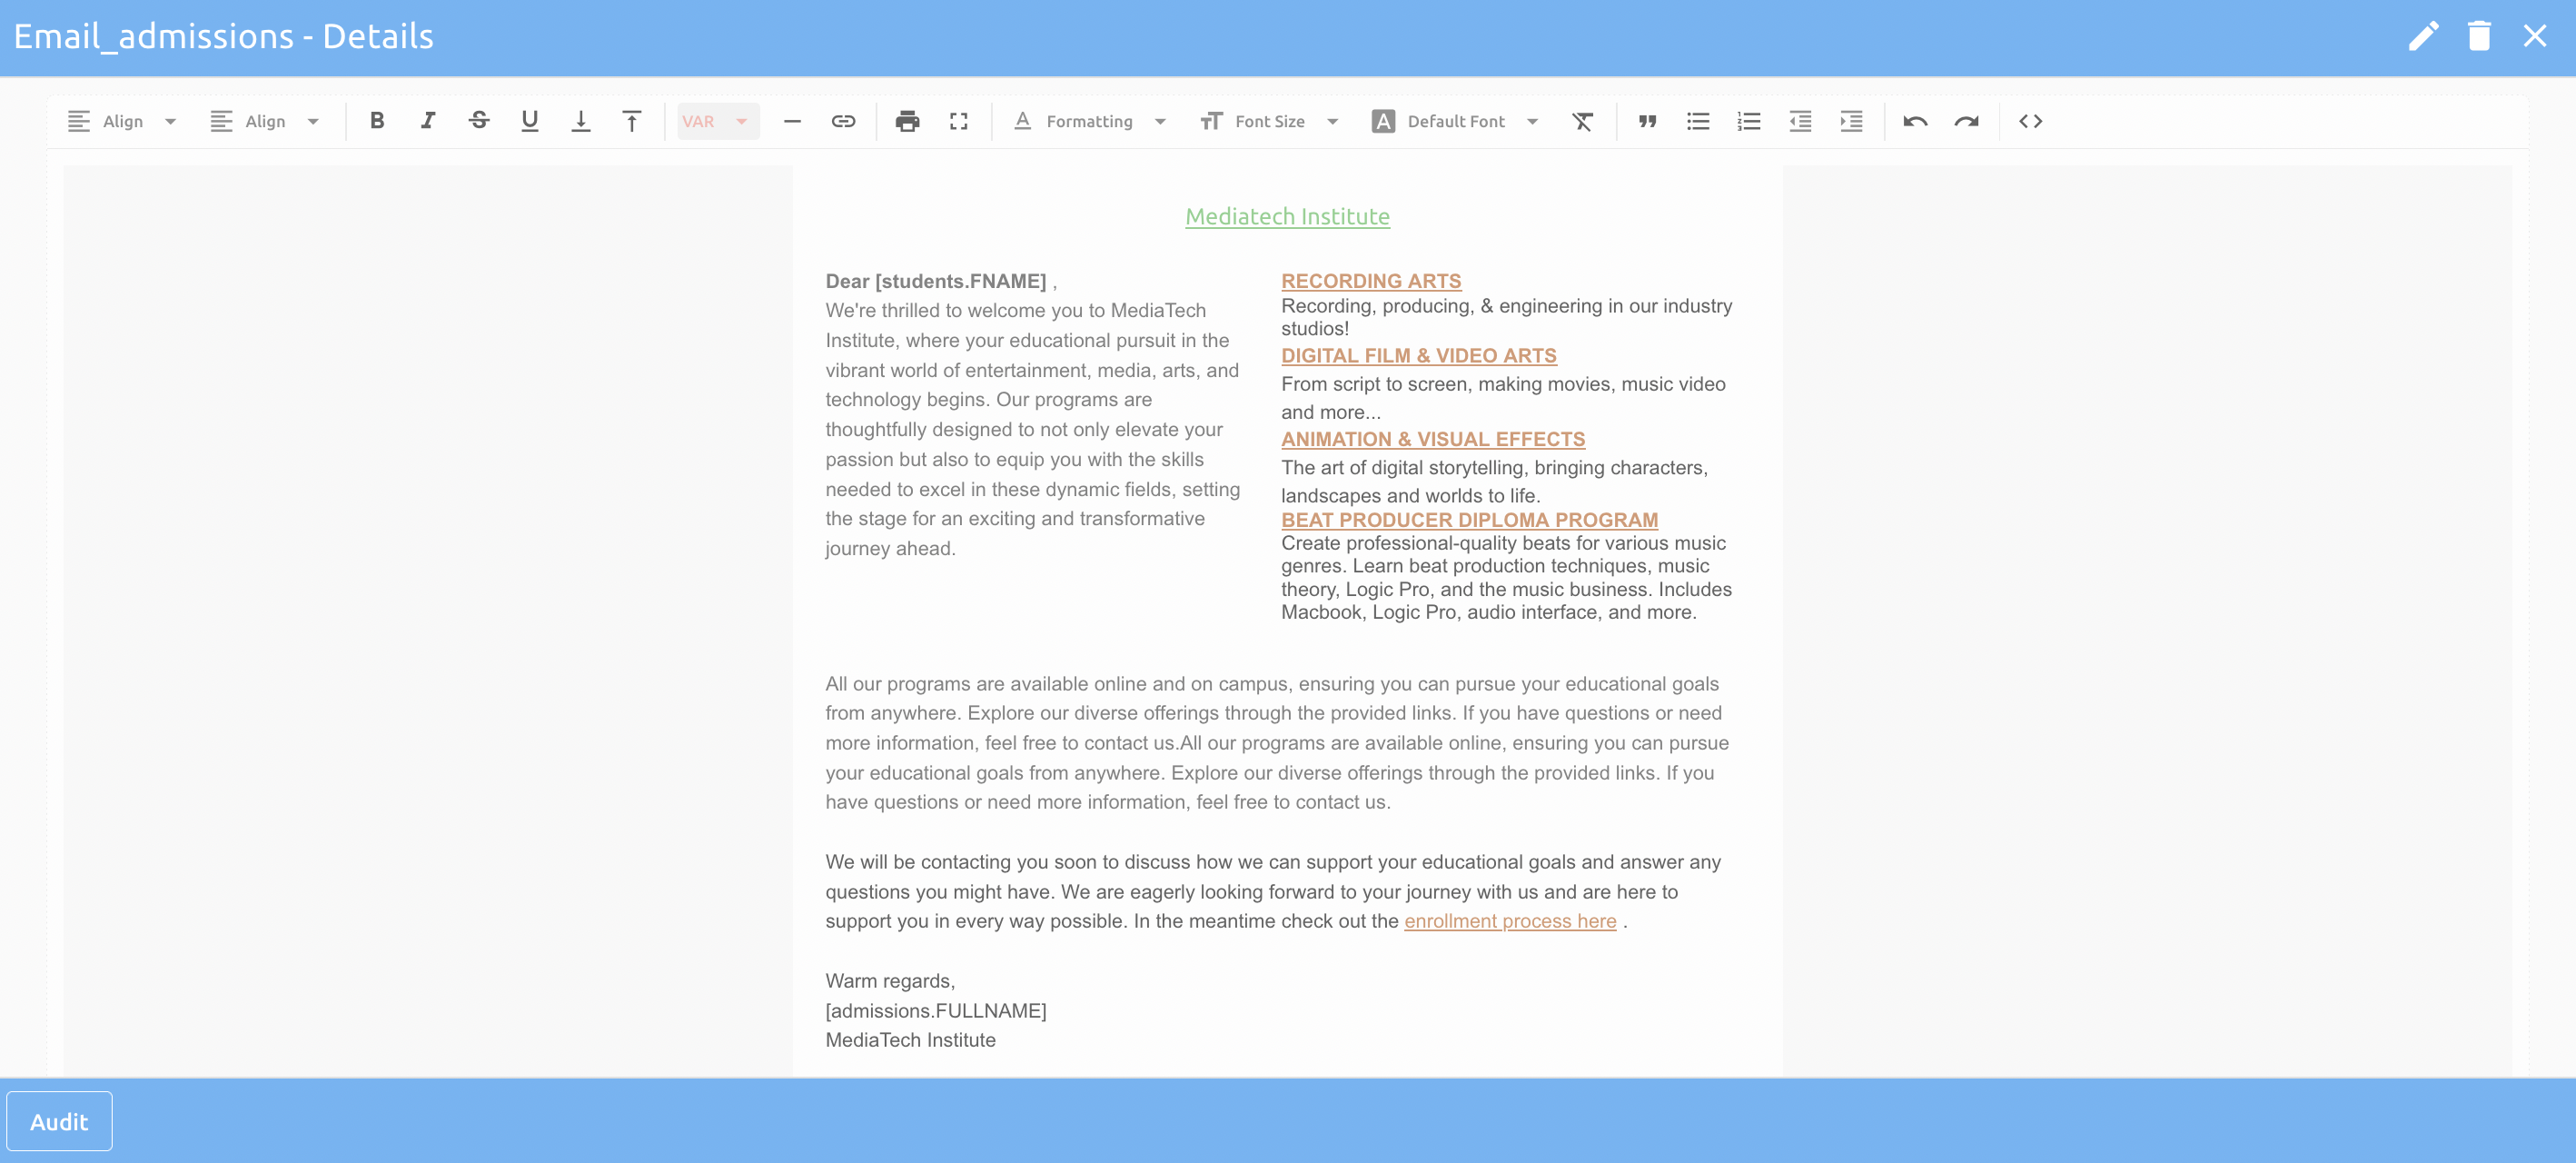
Welcome Email
The Welcome Email is sent to new leads who have submitted their lead application, greeting them and guiding them on the next steps. Its purpose is to welcome the lead and inform them what to expect next.
The sender address for the Welcome Email is set up under Maintenance → System → Campuses in the "Welcome Email" field for each campus. The system automatically uses this address when sending the initial Welcome Email.
👉 Click here to learn how to set up your emails.
Reset Password
To reset a student’s portal password, click the Reset Password button on the student’s record. Students can also reset their passwords through the portal.
Once initiated, the system automatically generates a Reset Password email, configured under Admissions → Setup → Emails. Ensure the Reset Password checkbox is selected when setting up this email.
Include these variables in the email content to provide essential login details:
[students.USERNAME]— the student’s username[students.PASSWORD]— the student’s new password
This ensures students receive all necessary info to access their portal.
⚠️ Always test the Reset Password functionality to ensure it works properly before relying on it for students.
👉 Click here to learn how to set up emails.