
Appearance
Placement Module
Table Of Content
Dashboard
The Placement Dashboard can be found under Placement>Dashboard:
In the top right-hand corner is a dropdown of all the Placement Representatives:
In the top left-hand corner is where you can find a dropdown of all the Placement Statuses:
By clicking on a Placement Status from the dropdown, the system will return a list of students within that status:
When clicking on the 'Status' button down at the bottom, the system will return a list of all students that have a Placement Status:
Clicking 'Unassigned' will give a list all students without a Placement Status:
When clicking on a student, the student will appear in the first box on the right-hand side.
- By clicking on their name in blue, a new tab will open with their student record
- Students Program, Start Date, Campus, and Session can be viewed in the middle
- The student's phones number can be found at the bottom, where you can either call and/or text the student
At the bottom of the Dashboard:
- View the Students Calendar
- Add Events to Students
- Add your own Events
- Add Communication Plans
Any Events assigned to the student can be found in the second box:
- Red events are Uncompleted events
- Green events are Completed events
By clicking on an event, the event will populate in the third box. From here either:
- Edit the Event
- Delete the Event
- Complete the Event
Any Communication Plans added to the student will show in the fourth box. These Communication Plans can be marked/edited as:
- Successful
- Unsuccessful
- Rescheduled
- Deleted
Finally, if the student had any prior Scheduled Communications, from the admissions side, they can be viewed in the fifth box. From there, the Scheduled Communications can either be sent or deleted:
Furthermore, on the right half of the dashboard is where the calendar can be viewed (student/user events):
Employeers
Employeers can be added under Placement -> Setup -> Employers. Additionally, to each Employer Jobs/Events, Contacts, and Documents can be added and attached.
👉 Click here to learn more about the Employers setup.
Adding Documents
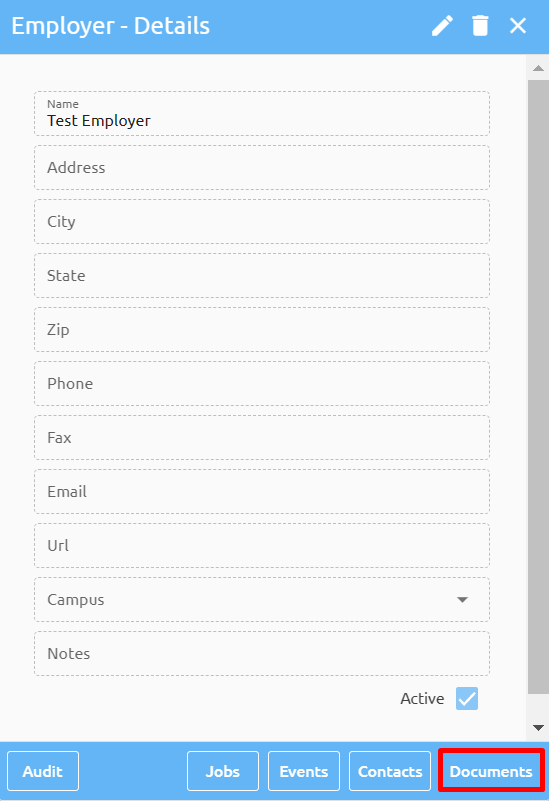
Select the Employer and at the bottom of the window select "documents":
Click on the "browse" button and search for your document:
Give the document a title and click submit:
To view the document click on the name or click delete to remove it:
Adding Jobs and Events
Search for the Employer:
Under Employers Module you can add:
- Jobs
- Events
Under Jobs:
Users can add multiple Jobs offered by Specific employer. In example below we are looking at all jobs offered by employer “Golden Voice”:
Events tab lists all students that have some events scheduled or completed with “Golden Voice”:
Adding Contacts
Student Placement
Events
Search for a student and navigate to the "Placement" window and click on “Events”:
These events are school Events and not Employers Events. Schools can add/schedule multiple events for each student. To add a new event click on the button "Create an Event":
Clicking on the event will mark it Completed/Uncompleted:
Employment
Search for a student and navigate to the "Placement" window and click on “Jobs”:
To add Employment click on "Add Employment":
Employment information can be entered in manually.
Once Employer is selected, system will list ALL jobs offered by selected employer. If job is selected from the list, system will fill in all the data from that job offer:
Posting Jobs
To post a job on the student portal for students to see, search for the employer, and open the "Jobs" window:
Select the job and mark the "Job Board" checkbox and click "Save":
For the student to see the job board in the Portal their Student Status must have the ability to view the job board.
See Academics>Setup>Student Statuses:
The system will display the Student Statuses and which statuses can view the job board in the portal:
Select the status you wish to change and click on or off the Job Board flag: